How to run two monitors on Raspberry Pi 4
Setting method of Capacitive touch screen
The following is an example of 7inch HDMI Display-C capacitive touch screen:
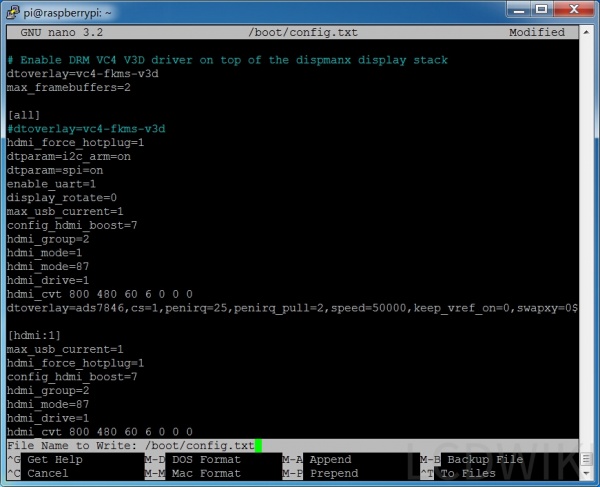
1. According to the tutorial < How_to_use_Raspberry_Pi(Download,Format,Burn,SSH,PuTTy) >,Burn the latest official Raspbian system to the Micro SD Card, connect the 7inch HDMI Display-C to the first HDMI of the Pi4, and connect the computer monitor to the second HDMI.
2.Insert the Micro SD card, raspberry PI boot. You'll see that both displays work, but the content is different, and the 7inch HDMI display-c's touch is quite different.The reason is that the two screens are now extended to the right. If you want to use it only as an extended display, that's enough, but if you want touch to work, you have to go to the next step.
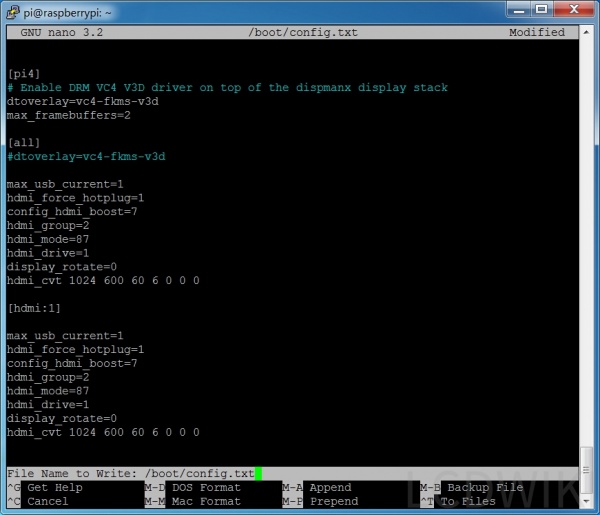
3.Execute the following command to open the config.txt file:
sudo nano /boot/config.txt
Add a statement at the end:
max_usb_current=1
hdmi_force_hotplug=1
config_hdmi_boost=7
hdmi_group=2
hdmi_mode=87
hdmi_drive=1
display_rotate=0
hdmi_cvt 1024 600 60 6 0 0 0

[hdmi:1]
max_usb_current=1
hdmi_force_hotplug=1
config_hdmi_boost=7
hdmi_group=2
hdmi_mode=87
hdmi_drive=1
display_rotate=0
hdmi_cvt 1024 600 60 6 0 0 0
(The two 1024 600 can also be changed to 1920 1080, 800 480 or other commonly used resolutions)
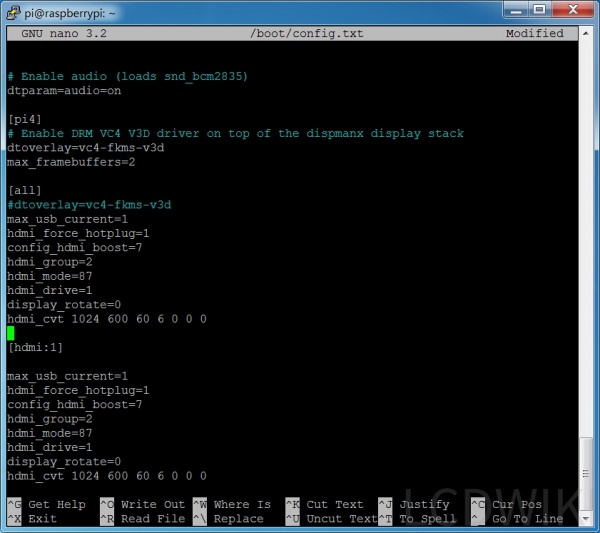
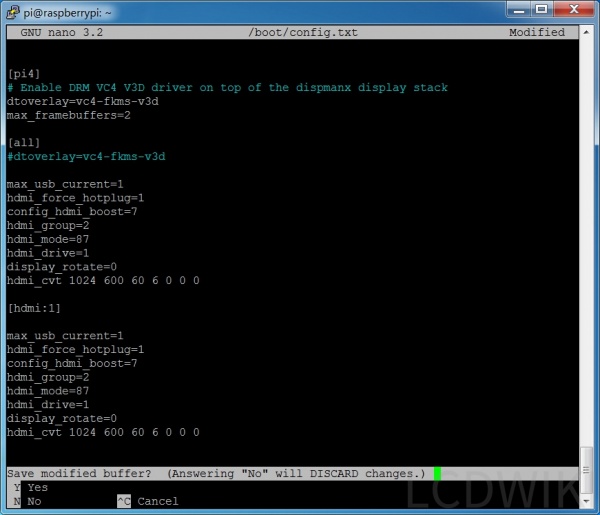
按Ctrl+X键,退出;再按Y键,保存;然后按回车键,确认保存
4.执行下面的命令,系统会重新启动:
sudo reboot
5.重新启动之后,打开Screen Configuration:
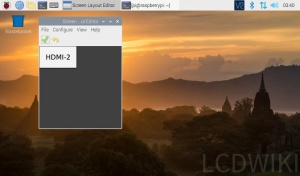
6.拖动HDMI-2与HDMI-1重合,并点击绿色的钩确认:
7.两个显示屏就可以复制显示同一个画面,而且触摸能正常使用:
二、电阻触摸屏的设置方法
下面以电阻触摸屏5inch HDMI Display 为例子来说明:
1.按照教程 树莓派入门教程(下载,格式化,烧录,SSH,PuTTy),把Raspbian官方最新系统烧录到SD卡中,5inch HDMI Display连接到Pi4的第一个HDMI, 电脑显示器连接到第二个HDMI
2.插入SD卡,树莓派上电开机,并按照教程 如何安装LCD驱动(CN) 安装5inch HDMI Display驱动。安装完驱动之后,就能看到两个显示屏都可以正常显示,但是显示的内容不一样,而且5inch HDMI Display 的触摸会偏差很大。
3.执行下面的命令,打开config.txt文件:
sudo nano /boot/config.txt
在最后面加入语句:
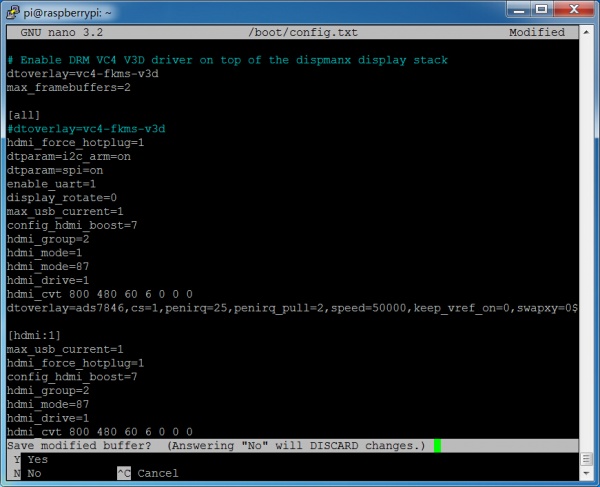
[hdmi:1]
max_usb_current=1
hdmi_force_hotplug=1
config_hdmi_boost=7
hdmi_group=2
hdmi_mode=87
hdmi_drive=1
hdmi_cvt 800 480 60 6 0 0 0
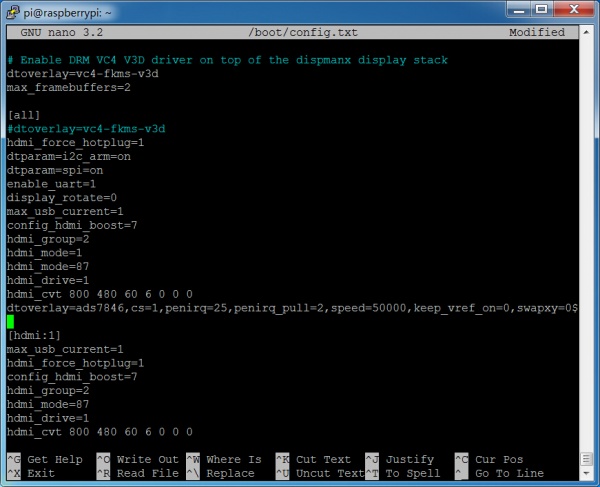
(其中的两个800 480也可以同时改为1920 1080, 1024 600等常用的分辨率)
按Ctrl+X键,退出;再按Y键,保存;然后按回车键,确认保存
4.执行下面的命令,系统会重新启动:
sudo reboot
后面的5,6,7步都和电容触摸屏的一样。
注意:
1. 在config.txt中的这两句是Pi4实现双屏显示的关键,一定要有。
dtoverlay=vc4-fkms-v3d
max_framebuffers=2
2.如果想触摸要准确,只能是复制显示,HDMI1和HDMI2重叠,而且两个屏的分辨率一样。
